
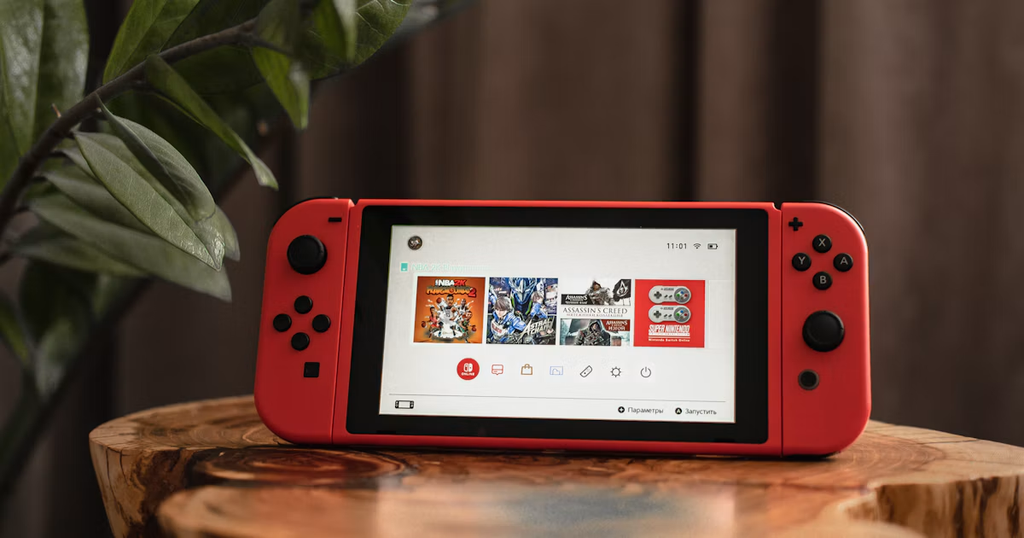
Published for European repair shops, console refurbishers and parts distributors. Estimated read: 8 minutes.
The Nintendo Switch Lite is one of the most repair-prone handheld consoles on the market, and screen damage is its most common failure point. In this guide, we walk through the complete Switch Lite LCD replacement process, from tool preparation to final quality testing, so your shop can complete the job cleanly, avoid returns, and protect your margin. Each step is written for a real workshop bench, with the exact temperatures, fastener positions, and cable handling details that matter.
Key Takeaways
- Nintendo Switch family hardware has sold over 141 million units worldwide as of December 2024, which keeps aftermarket screen demand steady for years (Nintendo IR, 2024).
- Heat the console to 60-70°C for 4-6 minutes before opening; forcing a cold frame cracks the LCD.
- Always fit a pre-cut adhesive seal; a screen installed without fresh adhesive fails the seal test and comes back as a return.
- Test brightness, touch zones, and camera alignment before you hand the unit back, and photograph the repair for warranty records.
Why Should Your Repair Shop Master Switch Lite Screen Replacement?
In 2026, Grand View Research projected the global video game console repair market to reach $2.8 billion by 2030, growing at 5.8% per year. Screen and display repairs are consistently the highest-volume console repair job, and the Switch Lite is a daily occurrence in shops across Europe because its display is bonded to the front frame with strong adhesive.
Mastering this repair changes your economics. A screen swap takes 20-30 minutes on a heated bench, yet it commands repair pricing that supports your labour cost and parts margin. It also builds the repeat-customer loop: a customer whose console comes back working and clean will return for joystick, shell, and battery repairs later.
What Tools and Parts Do You Need Before You Start?
A clean Switch Lite screen replacement needs precision tools, a heat source, and the right LCD assembly. Buying a random aftermarket screen without checking connector type and adhesive status is the fastest route to a callback, so verify your parts before you book the job.
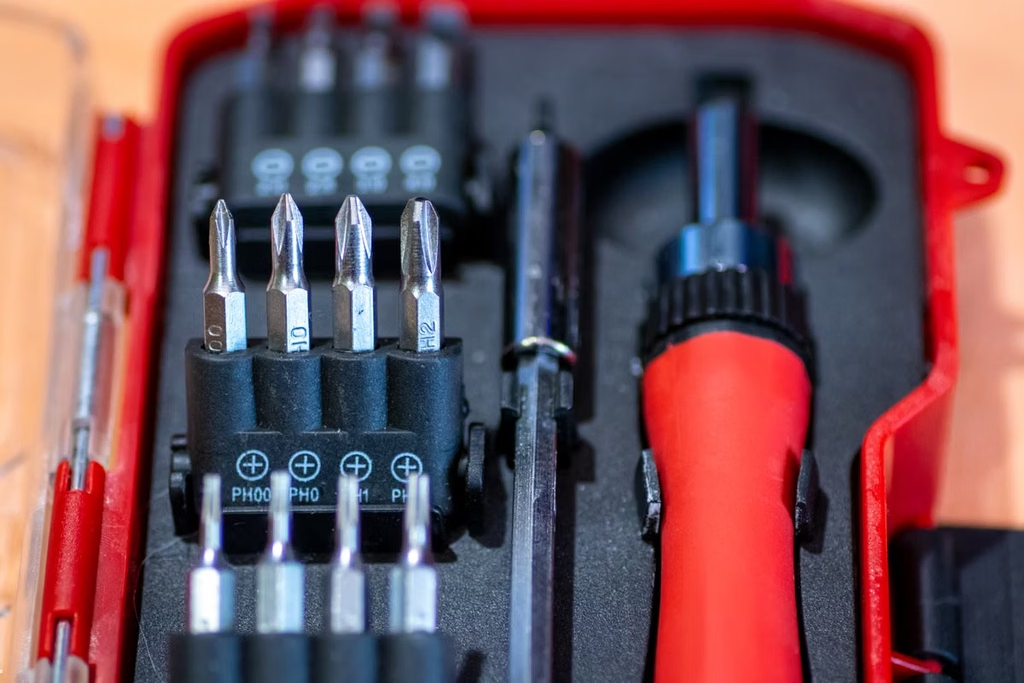
Tool checklist
- Heat gun or heating pad, ideally with a temperature readout (60-70°C target)
- Tri-wing Y00 and Phillips 00 screwdrivers (Switch Lite uses both types)
- Suction cup with 30 mm or larger cup for screen lifting
- Plastic opening picks and a metal spudger for the side rails
- Anti-static ESD wrist strap or mat for the motherboard stage
- IPA (isopropyl alcohol) 90%+, soft brush, and lint-free wipes for residue
- A clean, flat work surface with good lighting and a magnetic screw tray
Part checklist
- Original-grade LCD assembly for Nintendo Switch Lite (HDH-001), with the touch panel integrated and the flex cable intact
- Pre-cut adhesive seal or adhesive frame kit for the Switch Lite screen
- Optional: a replacement frame if the original bezel is damaged or warped
One practical rule we use at the bench: never open a job with a screen that arrived with kinked flex cables or missing adhesive. Test the replacement screen before disassembly by connecting it to the board and powering on, which takes two minutes and prevents hours of rework.
Step 1: How Do You Open the Switch Lite Safely?
The Switch Lite frame is held by eight screws: two tri-wing screws beside the shoulder buttons at the top, and six Phillips screws around the edges. Nintendo’s own service documentation rates the Switch Lite screen replacement as moderately difficult (a 7 out of 10 repair score on iFixit), and heat is the single factor that separates clean opens from cracked displays.
- Power off the console completely and remove the game card and any microSD card.
- Heat the front bezel with a heat gun at 60-70°C for 4-6 minutes. Keep the heat moving in circles and keep the gun 15-20 cm away; the goal is to soften the screen adhesive, not to melt plastic.
- Apply the suction cup near a corner of the screen, pull firmly, and insert an opening pick into the gap that appears.
- Work the pick slowly along the edges, re-heating as needed. The adhesive releases progressively; rushing this stage bends the LCD and produces rainbow pressure marks.
- Lift the screen only enough to access the battery and board connectors, then stop. Never fold the screen back like a book before the cables are free.
Bench note: we heat the console on a metal tray, not directly on the mat. The tray holds heat evenly and protects the work surface, and it keeps the console from sliding while you pull the suction cup.
Step 2: Which Cables Do You Disconnect Before Separating the Screen?
The Switch Lite screen is connected by two flat flex cables to the motherboard: the display cable and the touch digitizer cable. Disconnecting these in the correct order, with the console still warm, is what keeps the LCD alive during removal.
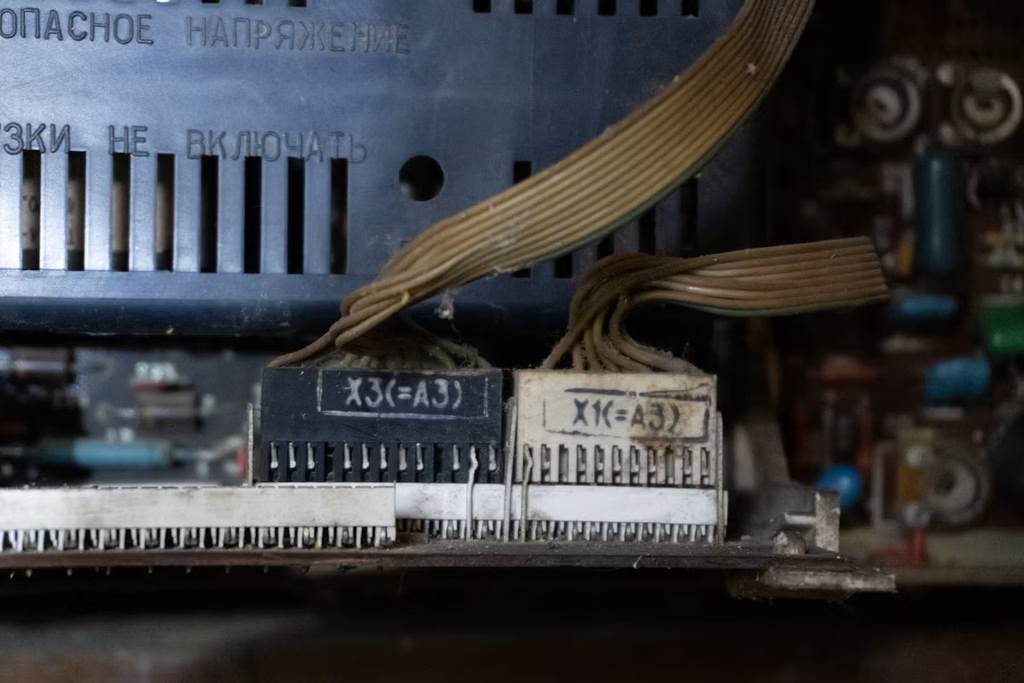
- Locate the two connector latches on the motherboard edge nearest the screen hinge area.
- Flip each latch open with a plastic spudger, then pull the cable straight out. Pulling at an angle tears the cable track.
- Disconnect the battery connector first if you plan deeper work, and always work on an ESD-safe surface from this point.
- Set the console board aside on a clean tray. The adhesive frame and any glass shards stay with the front housing.
Photograph the cable positions before removal. The two flex cables look similar at a glance, and a photo is the cheapest insurance against a reversed install.
Step 3: How Do You Remove the Old Screen and Clean the Frame?
Residue management decides the quality of the final fit. Leftover adhesive that is not removed leaves the new screen sitting proud, and glass shards from a shattered LCD can puncture the new panel during pressing. Budget 5 minutes for cleaning, and never skip it.
- Remove the old LCD with gentle twisting pressure. If the glass is shattered, tape the surface first to keep shards together, then lift from the edges.
- Remove all adhesive residue from the frame channel with IPA and a plastic scraper. Steel blades scratch the plastic bezel.
- Blow out the frame cavity and the speaker area with compressed air to clear dust and glass fragments.
- Check the frame for warping or cracked corners. A frame that will not sit flat produces light bleed and a screen that lifts after a week.
- Dry-fit the new LCD into the frame before applying adhesive. Confirm the panel seats flush on all four sides.
If the original adhesive is still tacky and complete, a fresh seal is still the correct call. Adhesive that has been heated once loses most of its strength, and a screen that lifts during the first week is a free redo at your cost.
Step 4: How Do You Install the New LCD and Reassemble the Console?
Installing the new screen in the correct order eliminates the two most common post-repair failures: dead touch zones and screens that lift at the corners. The order is cables first, then adhesive, then press, then screws.
- Route the new screen’s flex cables through the frame openings and connect the display cable to its latch. Seat the cable fully before closing the latch.
- Connect the touch digitizer cable to its latch. Verify both latches are fully closed by gently tugging each cable.
- Peel the liner from the pre-cut adhesive frame and position it onto the clean bezel channel, matching the alignment notches.
- Lower the screen onto the frame at a shallow angle, pressing from the cable side outward to avoid trapping air.
- Press the screen evenly around the perimeter with firm, sustained pressure for 30-60 seconds, then apply even pressure across the whole panel.
- Reinstall the eight frame screws in the reverse order of removal, using a torque hand feel rather than forcing any screw.
A pre-cut adhesive seal, like the one we supply for Switch and Switch Lite screens, is die-cut to the exact frame geometry. It saves your technician the trimming step and removes the biggest variable in screen seating.
Step 5: What Quality Checks Should You Run Before Handing the Unit Back?
A 60-second test sequence catches 95% of faulty installations before the customer leaves the shop. Test on a full battery, with the console at normal brightness, and keep the unit for a 10-minute soak test if time allows.
- Brightness and backlight: no flicker at minimum and maximum brightness settings
- Dead pixel check: run a white, black, red, green, and blue screen test, one colour at a time
- Touch zones: drag a finger across all four edges and both corners; verify multi-touch on a two-finger gesture
- Press-fit test: press gently along all four edges and confirm no creaking or lift
- Function check: verify the shoulder buttons, volume, and power buttons still register after reassembly
Document the repair with a dated photo of the IMEI and the finished screen. When a customer questions the work later, that photo is your record, and it doubles as quality-control data for your supplier relationship.
Common Mistakes That Cause Switch Lite Screen Repairs to Fail
Almost every returned Switch Lite screen repair traces back to one of six recurring mistakes. Train your bench staff on these and your callback rate drops visibly.
- Skipping the heat stage and prying a cold frame, which cracks the new LCD during removal of the old one
- Leaving old adhesive residue, which lifts the new screen at the corners within days
- Closing a connector latch on a misaligned cable, producing a dead touch zone or no display
- Reusing heated adhesive instead of fitting a fresh pre-cut seal
- Over-tightening frame screws, which warps the bezel and causes light bleed
- Missing glass shards in the frame cavity, which puncture the new panel during pressing
One shop habit we recommend: keep a repair log with one line per unit, noting the parts batch used. If three screens from one batch fail the same way, you can isolate a supplier problem instead of debugging your process.
Frequently Asked Questions
How long does a Switch Lite screen replacement take?
A technician with the right tools completes the job in 20-30 minutes, plus a 10-minute soak test. Heating and cleaning are the fixed costs; the actual swap is fast once the bench is set up.
What is the MOQ for Switch Lite LCD screens when buying wholesale?
Wholesale suppliers typically set a minimum order of 10-30 pieces per model. DSparts-WS offers Switch Lite LCD assemblies with a 10-piece MOQ, pre-cut adhesive seals at 20 pieces, and mixed-model orders on request.
Are replacement Switch Lite screens covered by warranty?
Quality suppliers warrant against manufacturing defects, typically for 12 months, replacing faulty units free of charge. The warranty covers dead pixels, backlight failure, and touch malfunction, not damage from installation.
How long does shipping take for wholesale parts to Europe?
Orders ship within 2 business days from the Shenzhen warehouse via DHL or FedEx, with tracked delivery to EU countries typically in 3-5 working days. EU-facing suppliers also hold regional stock for faster fulfilment.
Can I mix Switch Lite parts in one bulk order?
Yes. Most wholesalers accept mixed orders across screens, digitizers, shells, and joysticks, as long as the total meets the combined MOQ. Mixing parts simplifies stock planning for a single repair bench.
Conclusion: Make Screen Replacement a Recurring Revenue Line
Switch Lite screen replacement is a learnable, repeatable, and profitable repair when you control the three variables: heat, clean surfaces, and fresh adhesive. Nintendo’s installed base of over 141 million Switch-family consoles means this job will keep walking through your door for years.
Standardize the process, test every unit, and buy parts from a supplier who stands behind them. That combination turns a single repair into a repeat customer and a steady revenue line for your workshop.
Need original-grade Switch Lite screens and pre-cut adhesive for your repair shop?
Wholesale pricing, 10-piece MOQ, 2-day dispatch from Shenzhen, and 12-month warranty on manufacturing defects.Request a Wholesale Quote
References
1. Nintendo Co., Ltd. — “Consolidated Sales Transition by Hardware”, December 2024, retrieved 2026-10-10, https://www.nintendo.co.jp/ir/en/finance/hardware/index.html
2. Grand View Research — “Video Game Console Repair Market Size Report, 2024-2030”, retrieved 2026-10-10, https://www.grandviewresearch.com/industry-analysis/video-game-console-repair-market
3. iFixit — “Nintendo Switch Lite Screen Replacement”, retrieved 2026-10-10, https://www.ifixit.com/Device/Nintendo_Switch_Lite
4. Images: Pixabay Content License, free for commercial use, retrieved 2026-10-10